Fusion
Step #1: Click on "Projects".
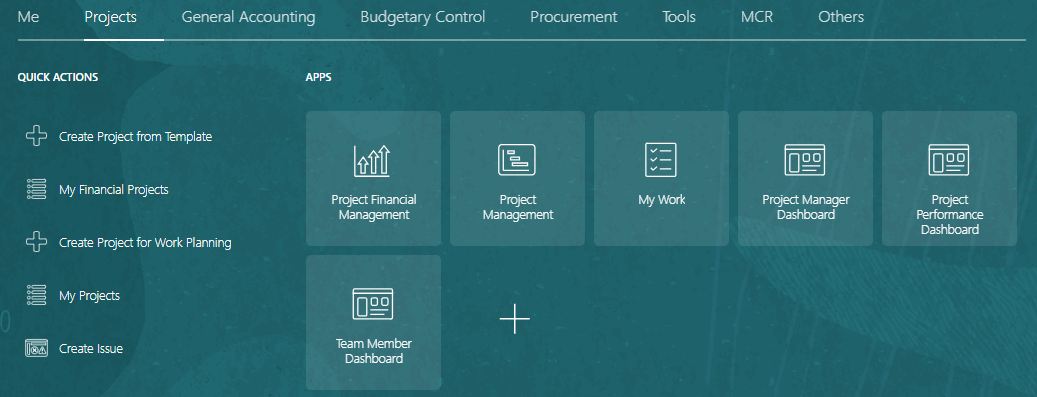
Step #2: Click on "Create Project from Template". A new page will open as shown below.

Alternatively, to Step #2, you can also click on "Project Financial Management" as shown below for project creation.

Step #3: Click on Plus (+) Sign (this is required only if creating project from "Project Financial Management").
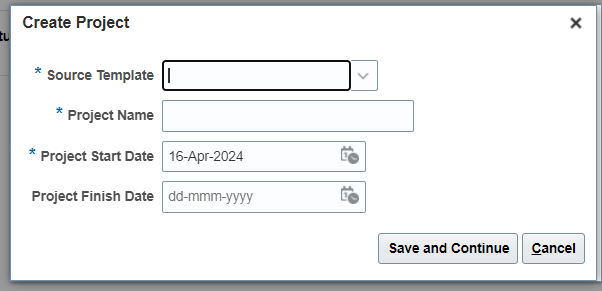
Step #4: Select Template from the drop-down list.

Step #5: Fill the Project Name, Number (as assigned by DROC or Center), Start and End Dates.
5.1 For IRC:
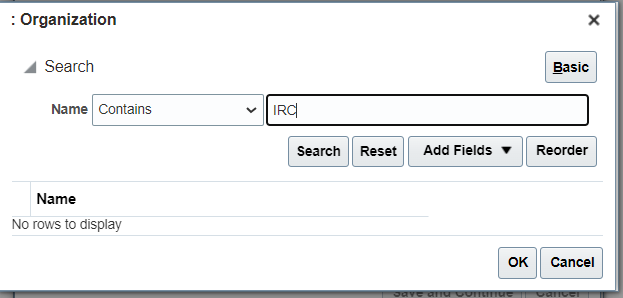
- Select the appropriate organization (i.e., the name of the center funding the project). For selecting the organization, click on the down arrow in the Organization field and select "Search" as shown below.


- Click on "Advance", select criteria "Contains" and add partial name of the Center (such as IRC), then click on "Search".
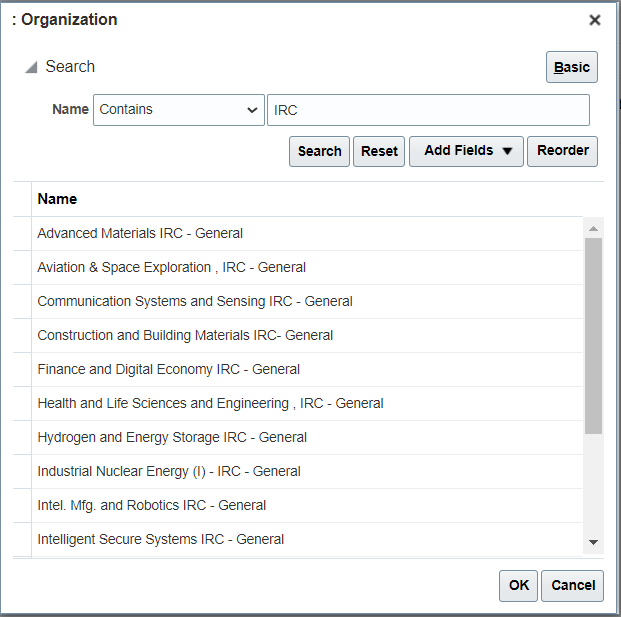
- The search results appear as below. Select the appropriate name and click "OK".
 |  |
| IRC Template | DROC Template |
5.2 For Non-IRC, by default, there would be one task defined and there is no need for updating it. For IRC, Tasks (which are actually fiscal years) should be defined as shown below. Click on "Save".

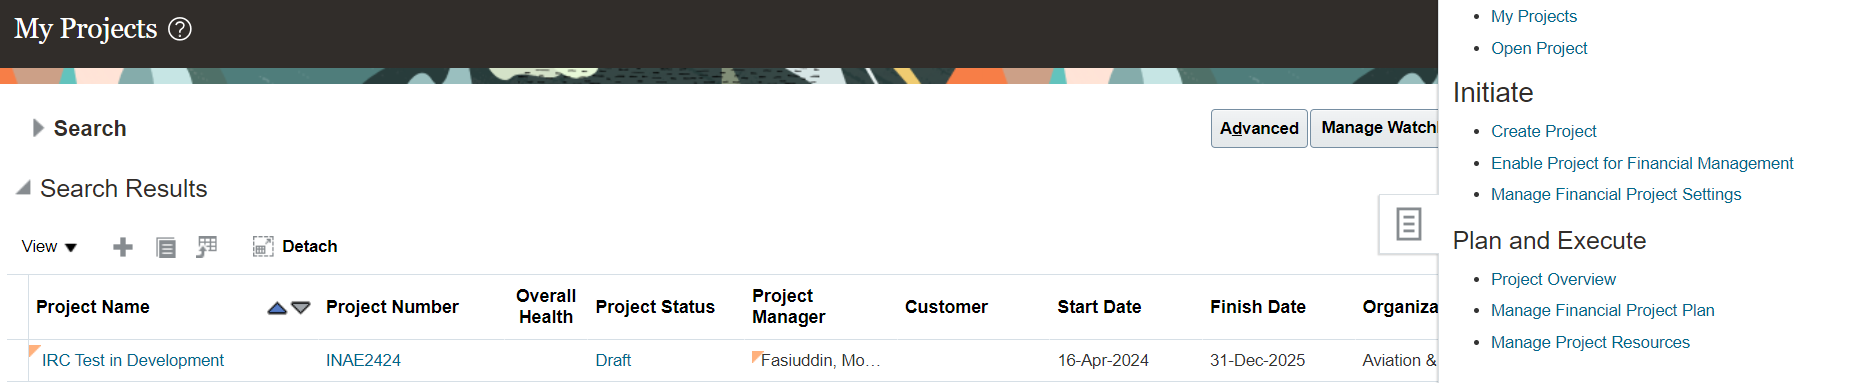
Step #6: Click on the Notepad Icon on the right-side as shown below, a new list of items will appear. From the list, select "Manage Financial Project Plan".
Step #7: Click on Plus (+) sign to add project task.
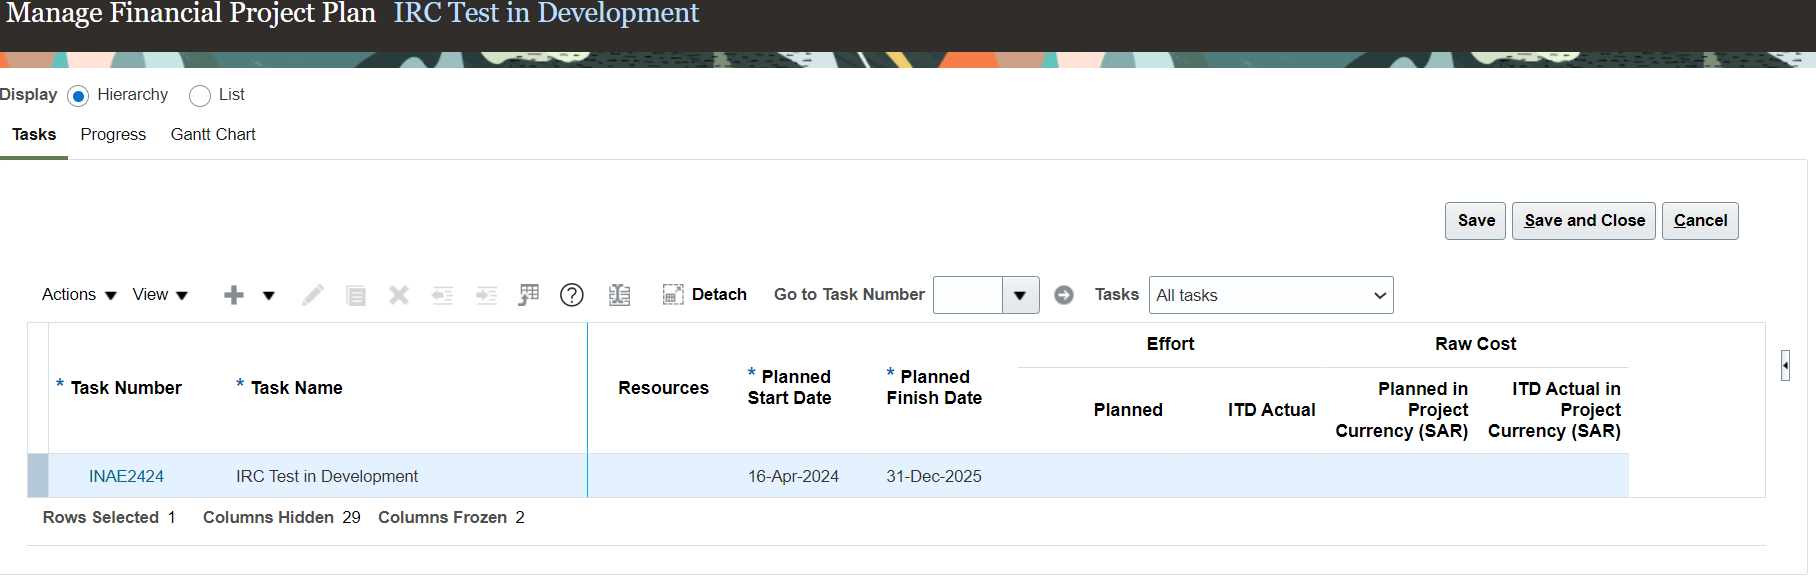
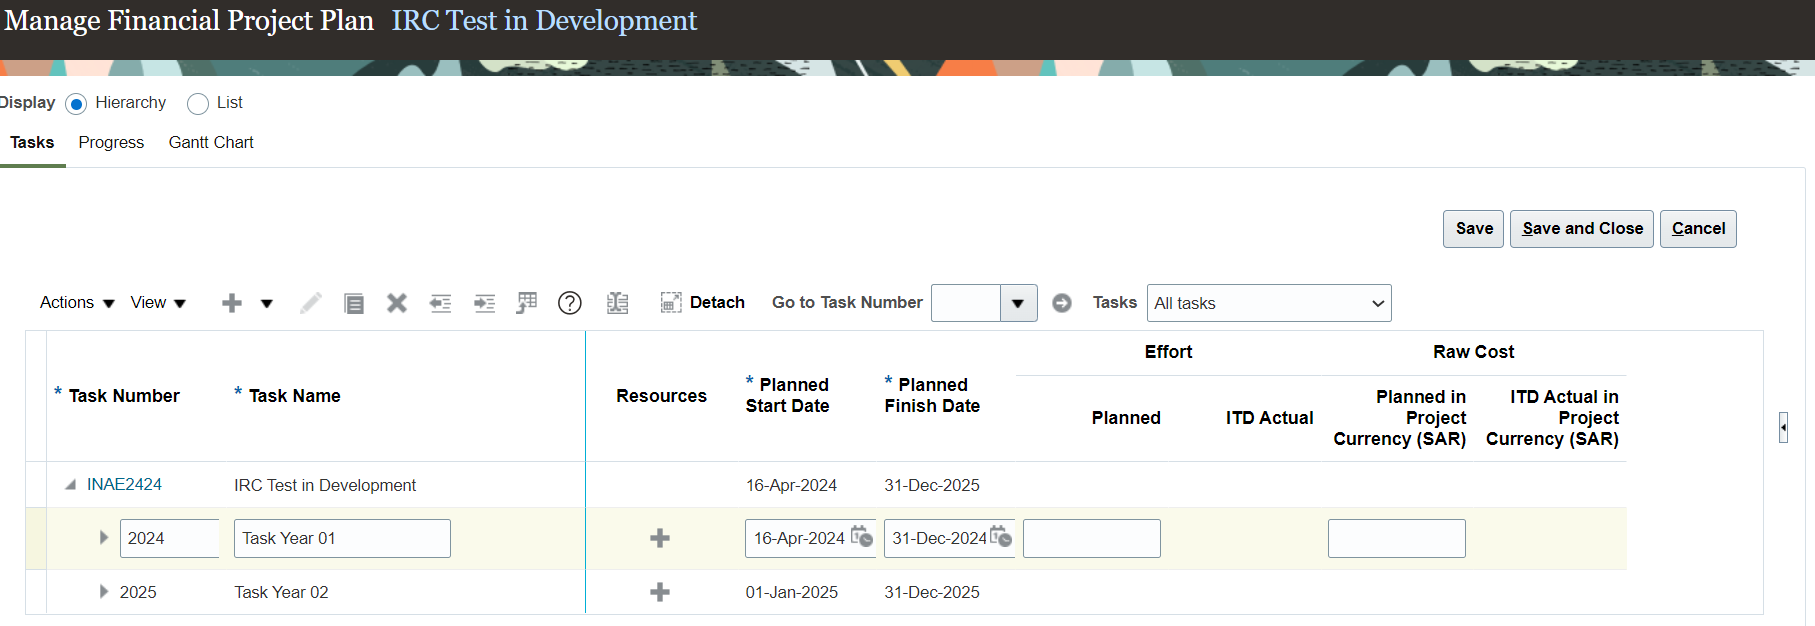
Step #8: Select Sub Task -> Enter Task Number and Task Name -> Task Start and End Dates (The task is fiscal year and not the actual project tasks).
Add another task to the project for second year. Select Peer Task to add on the same level (Sub task will add task on next level).
| From here onwards, the procedure is same for IRC and Non-IRC |
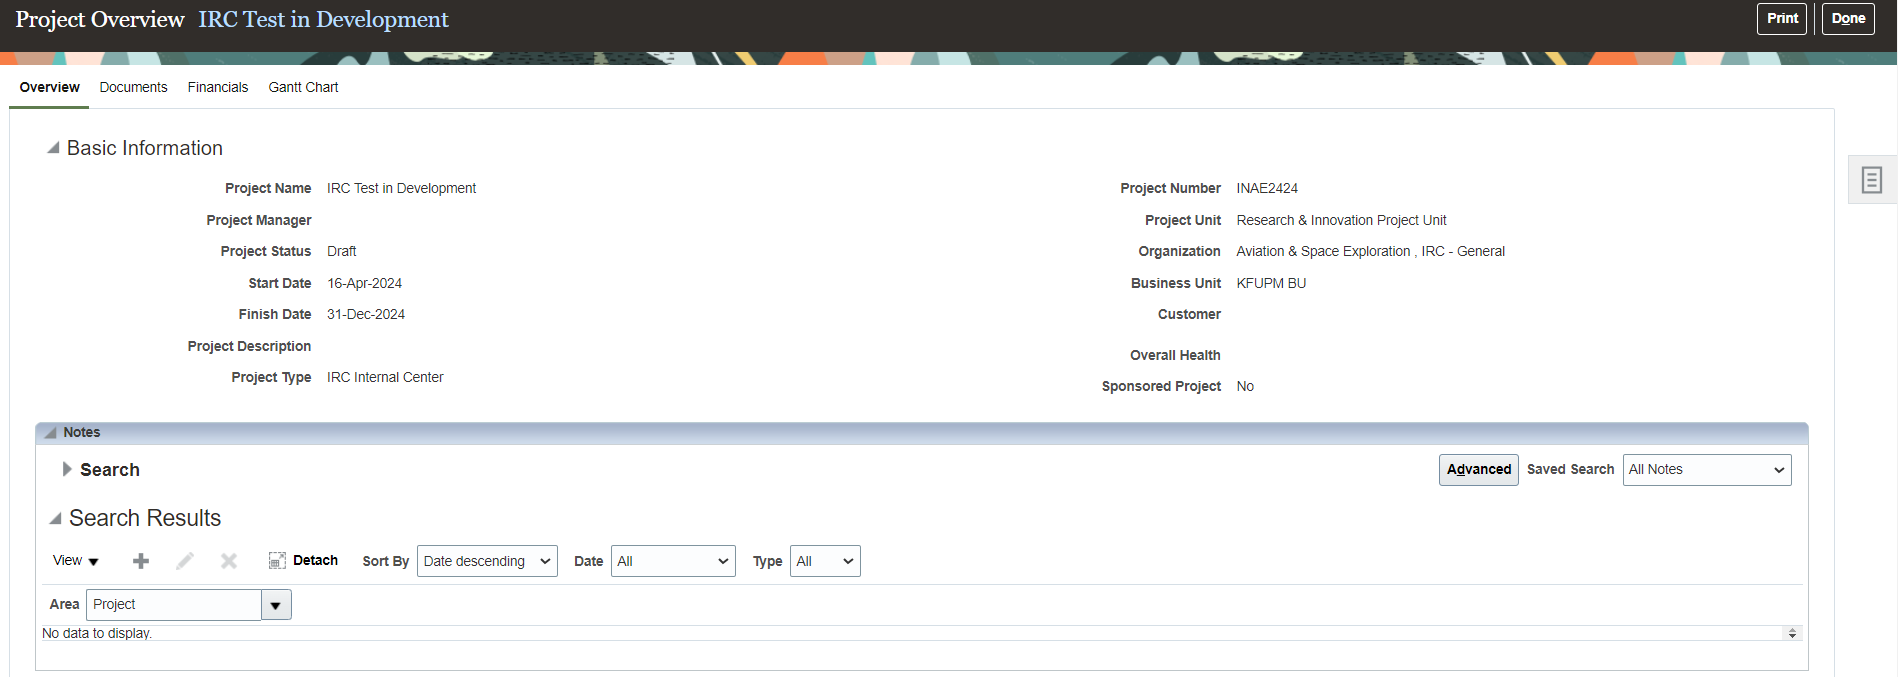
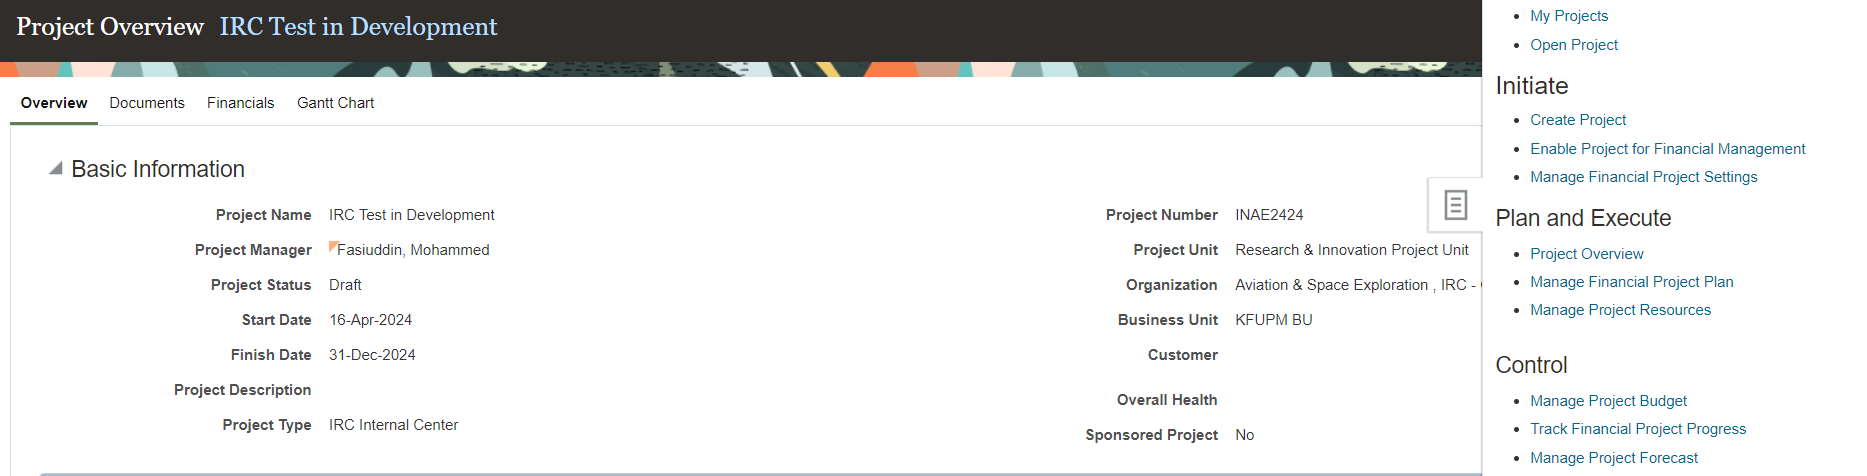
Step #9: Click on Notepad Icon on the right-side as shown below, a new list of items will appear. From the list select "Project Overview".
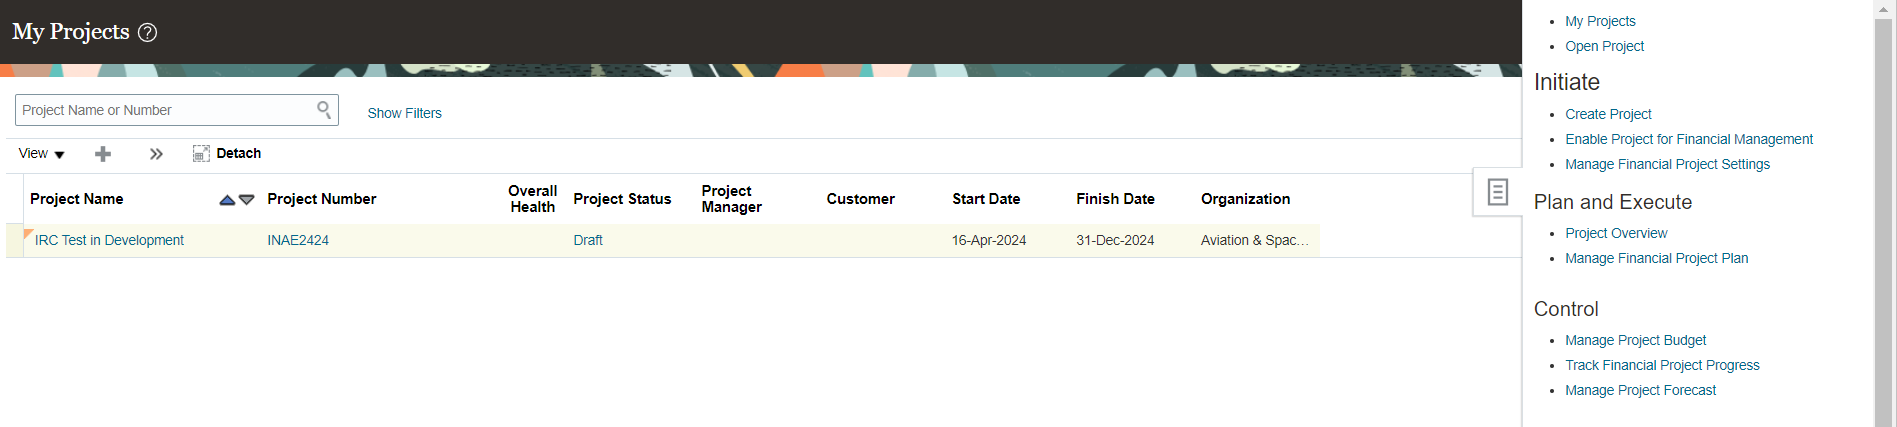
The next screen will appear as shown below.
Step #10: From the tab bar, click on the Document Tab and then click "Edit" as shown below.

Step #11: Click on the Plus (+) sign to add proposal and other attachments.

Step #12: Once all files are uploaded, click on “Save and Close”.

Step #13: Click on “Done” as shown below, the warning dialog box will appear, click on “Yes” to continue.

Step #14: Click again on the Notepad Icon and select “Manage Project Resources”.

Step #15: Click on “Add Resources”.

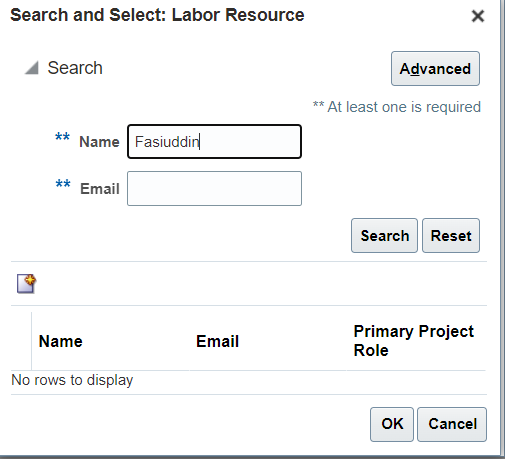
Step #16: Click on “Search” in the Resource Field.

Step #17: Enter partial name or email address in the appropriate field and click “Search”.
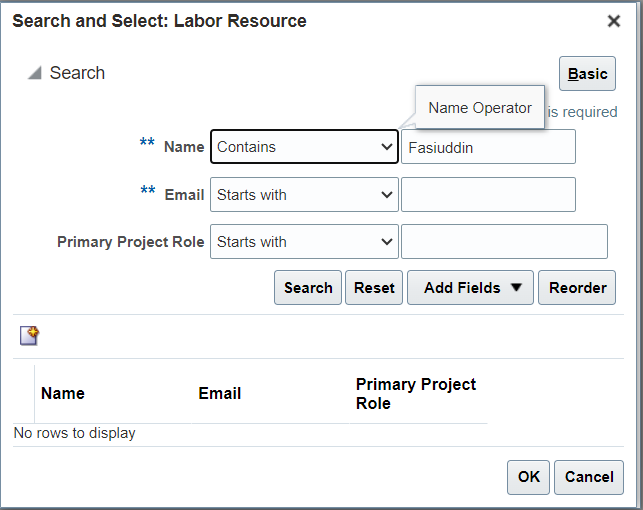
You can also opt for Advanced Search (With Contain as Boolean) if basic search does not bring any results.

Step #18: Select Project Role and enter the Start and End dates.
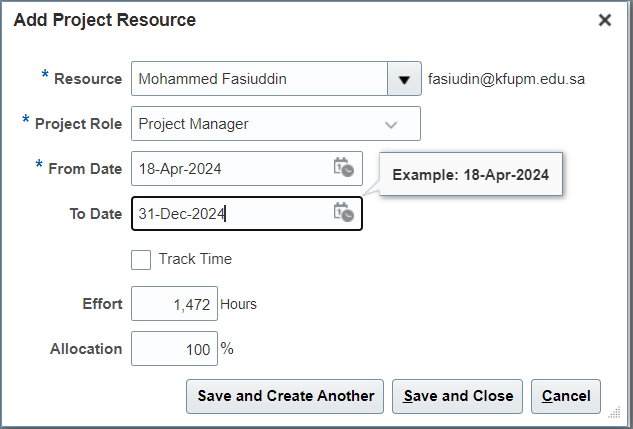
Step #19: Click on “Save and Close” or “Save and Create Another”.
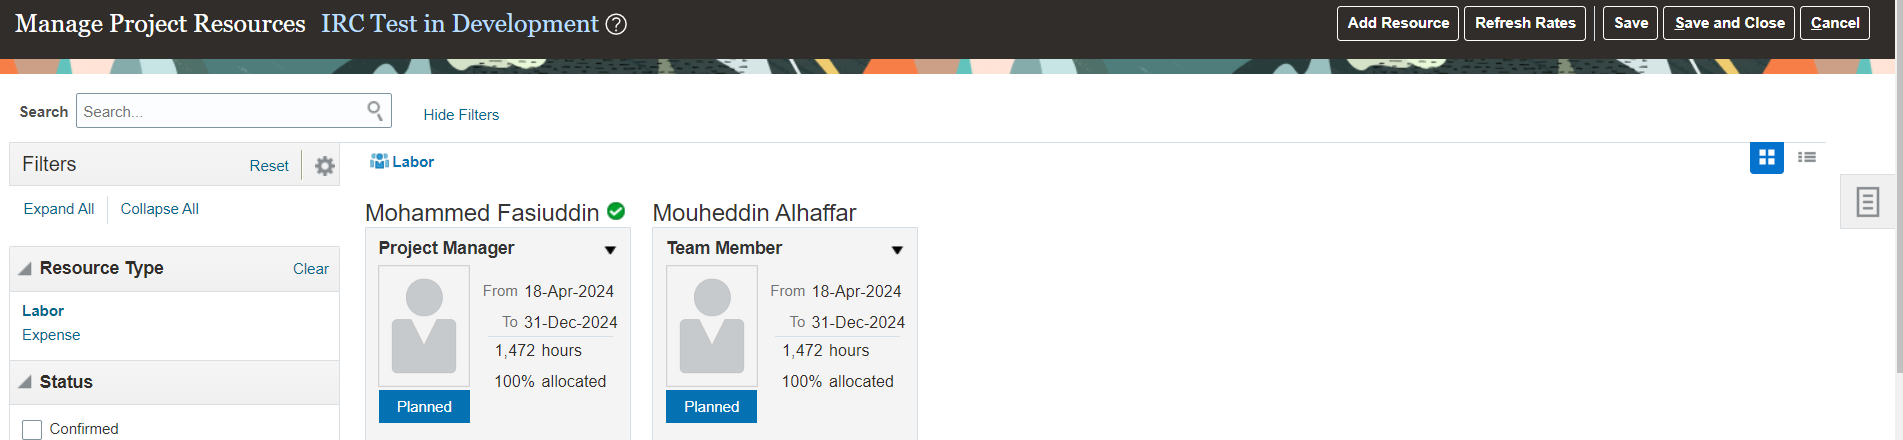
Step #20: The added resources to the project will be shown as below. click on “Save and Close” to continue.

Step #21: Click again on Notepad Icon on the right-side. Click on "Manage Project Budget" to enter project cost.
Step #22: Click on Plus (+) Sign.

Step #23: From the drop-down list in the Financial Plan Type, select "KFUPM Cost Budget Non-Sponsored".

Step #24: Click on "Save and Continue".

Step #25: In the below screen, click on Plus (+) Sign to add budget items.
25.1 For Non-IRC, as there is only one task, it should be added under the task and not the project number.
25.2 For IRC, the budget needs to be added to each year (each task).
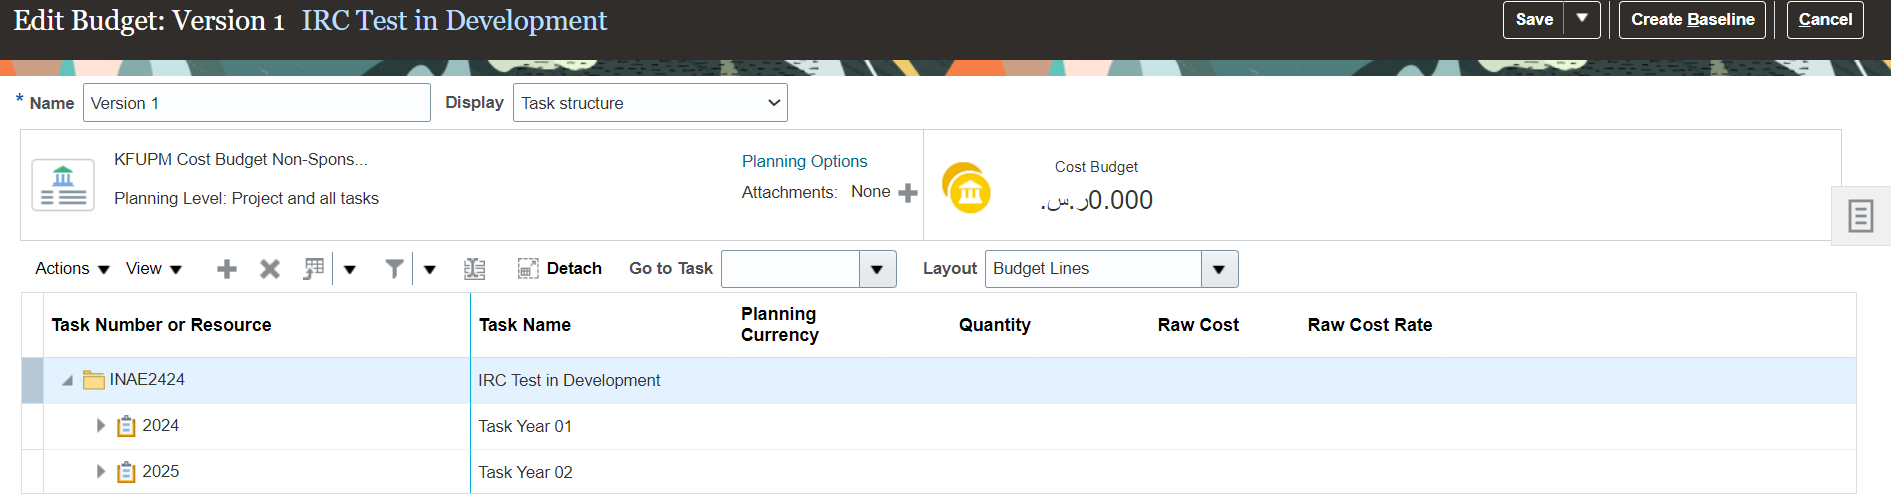
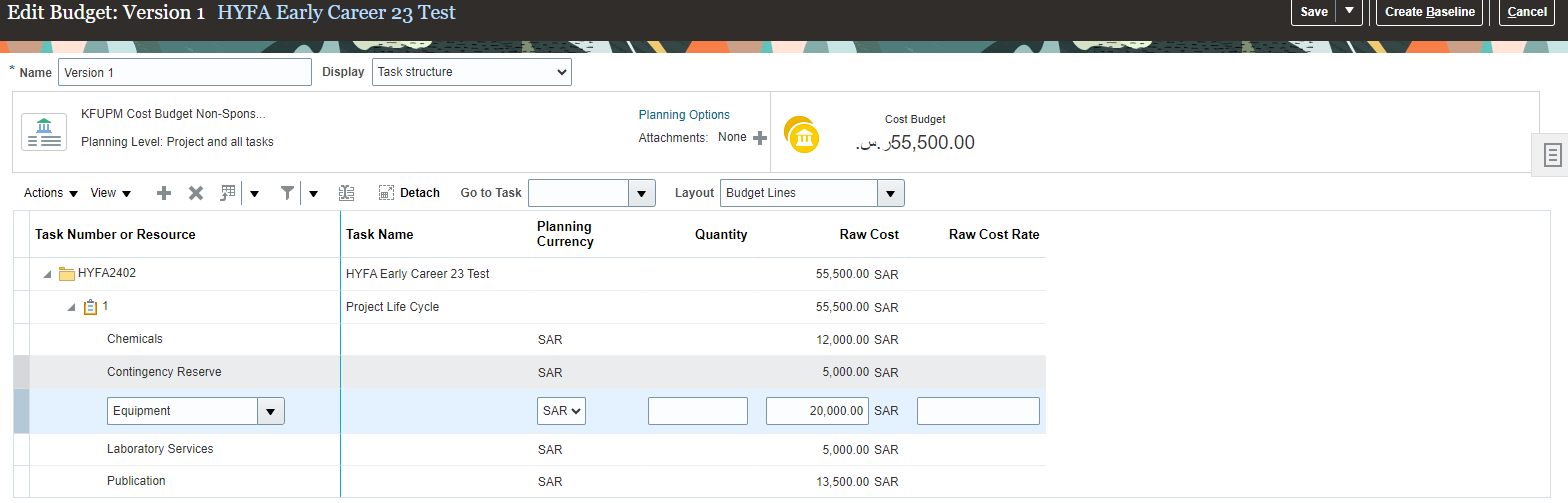
- Select the task (year) to which the budget items need to be added and click on Plus (+) sign. From the drop down list, select the expenditure item.
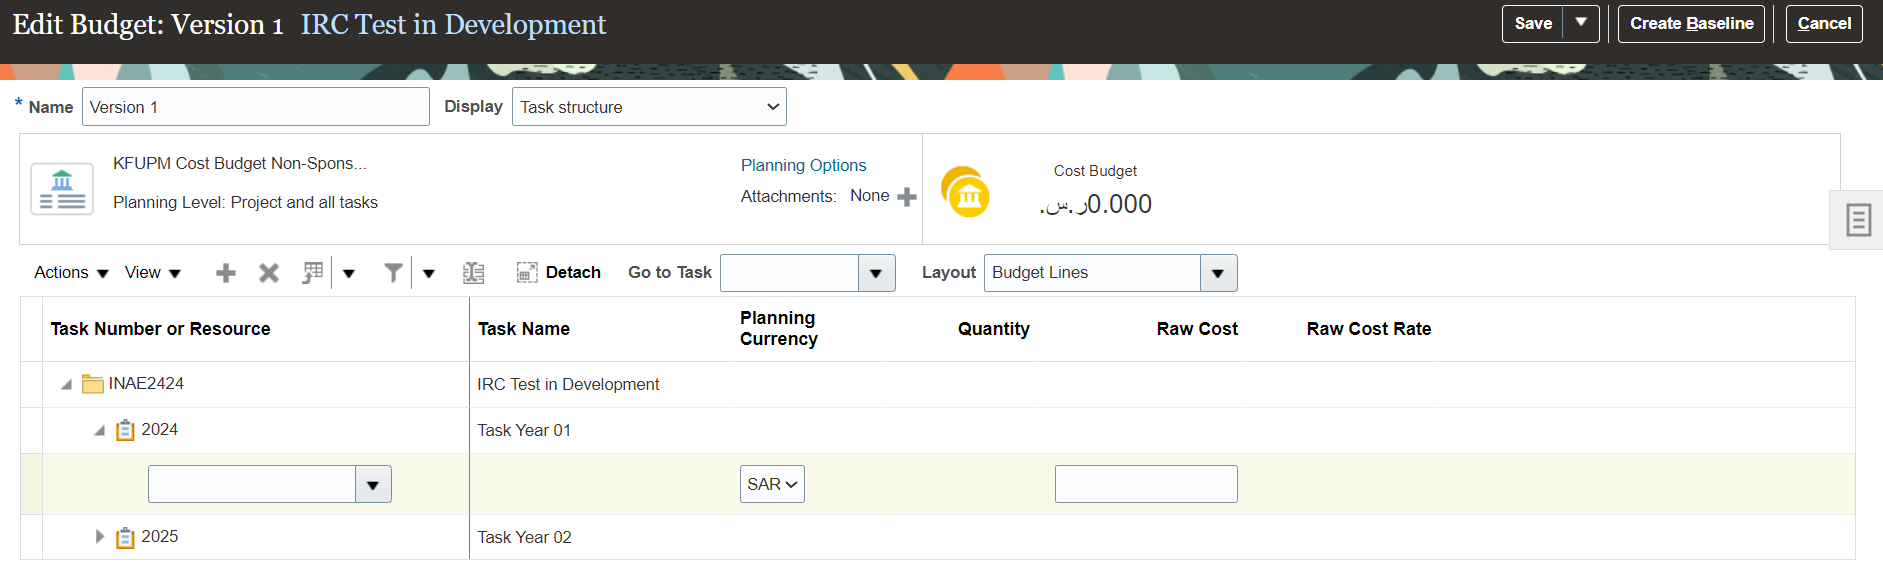
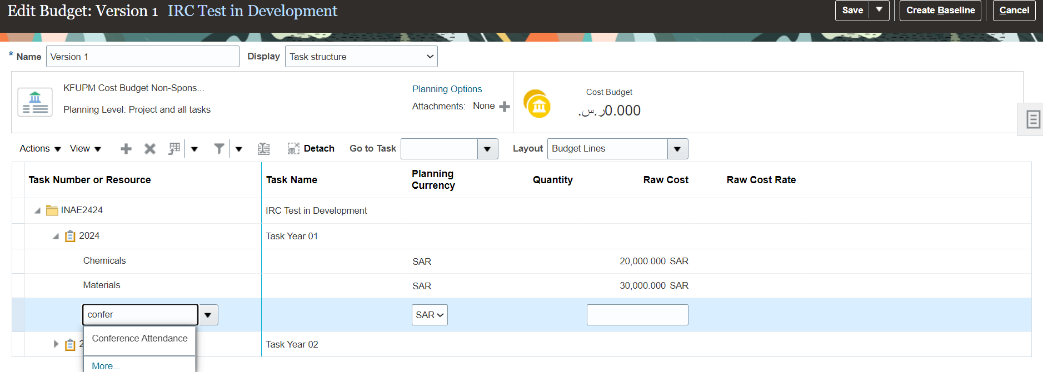
- Click on "Save" (anytime) to calculate the total.

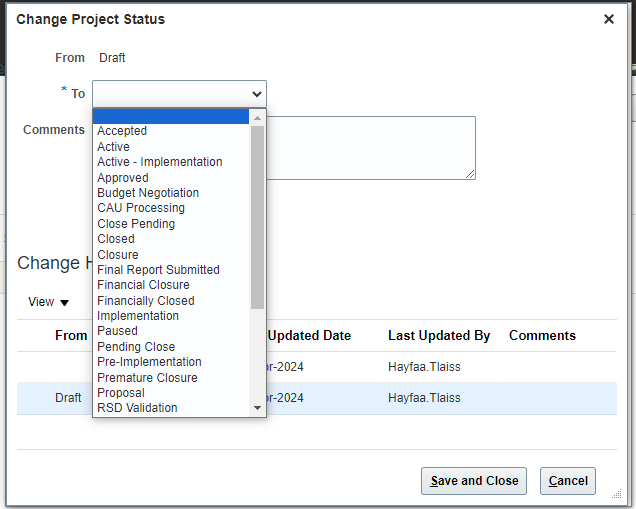
- Search the project in the main page and click on Draft to Submit the project or from the "Manage Financial Project Settings".


- Select "Submit" from the list.
 Jump to Top
Step #1: Go to Fusion page "Me" and select "Expenses".

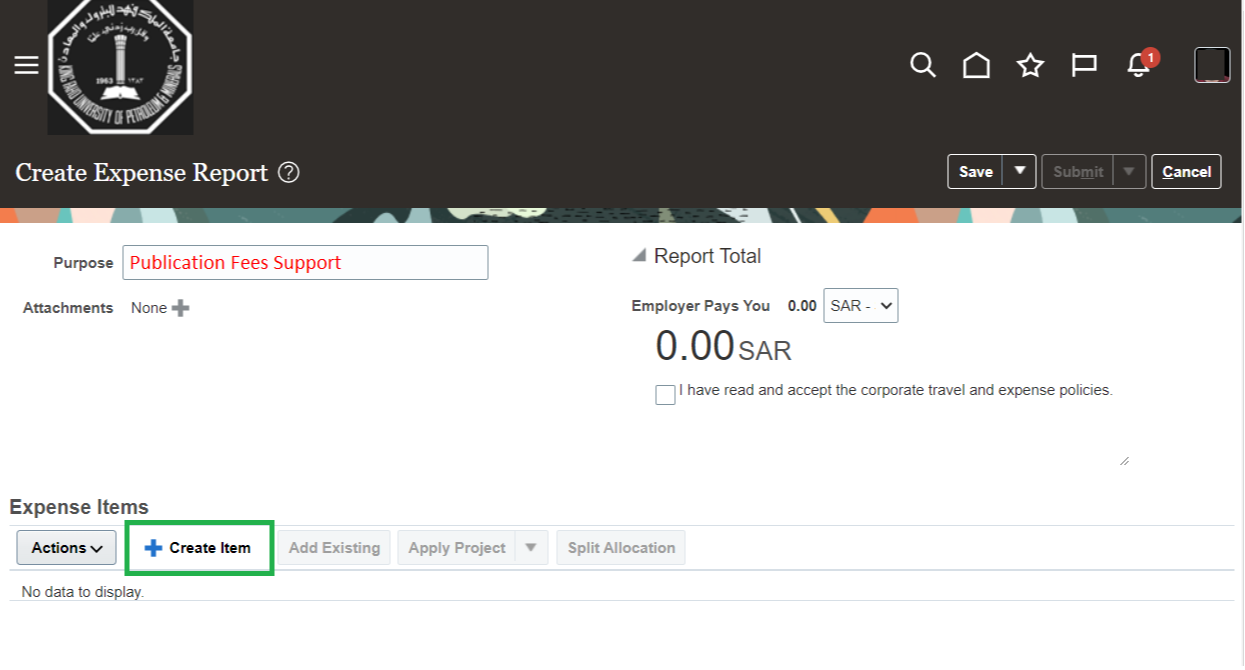
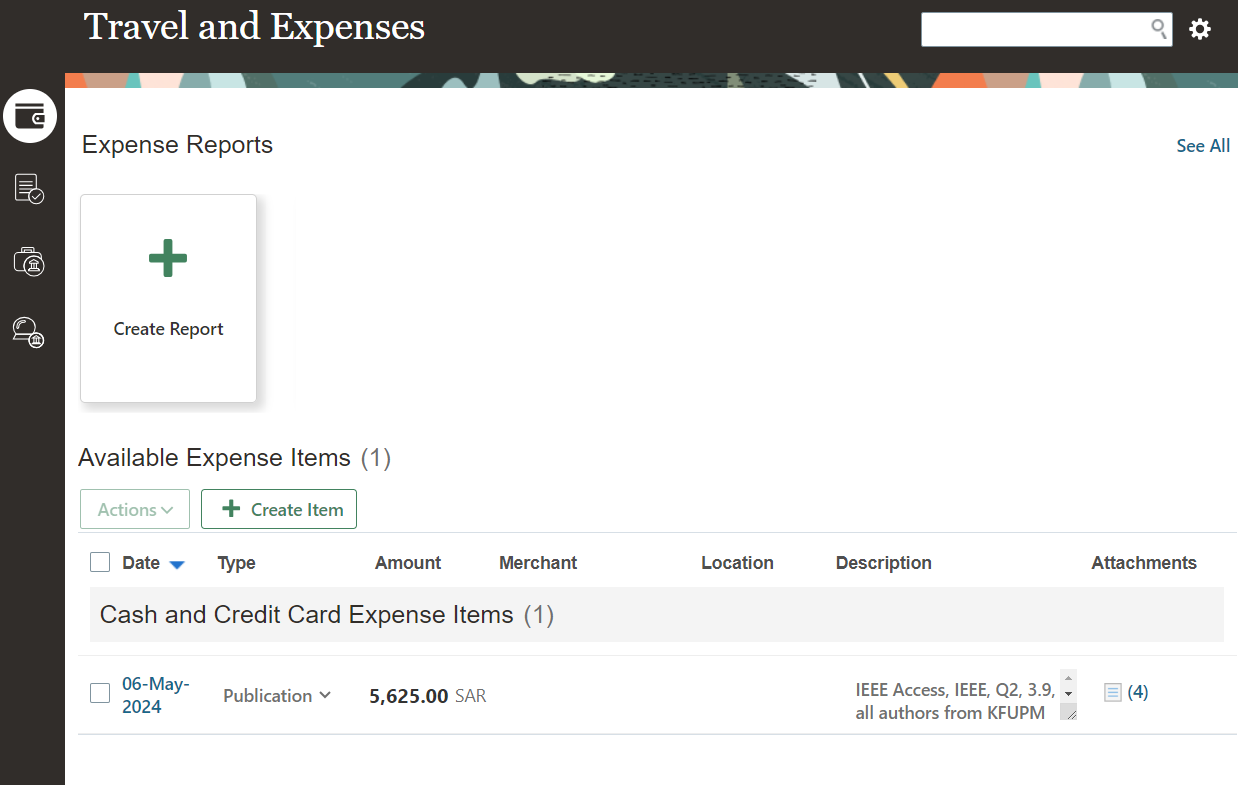
Step #2: Click on "Create Report".

Step #3: Put on Purpose “Publication Fees Support” and then click on “Create Item”.
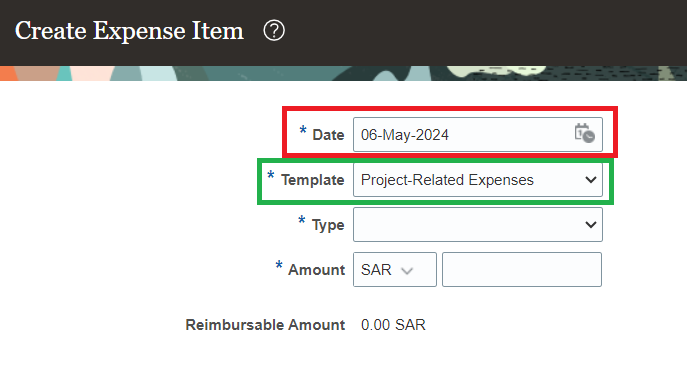
Step #4: Select the date “Today Date”, and Templates “Project-Related Expenses”.
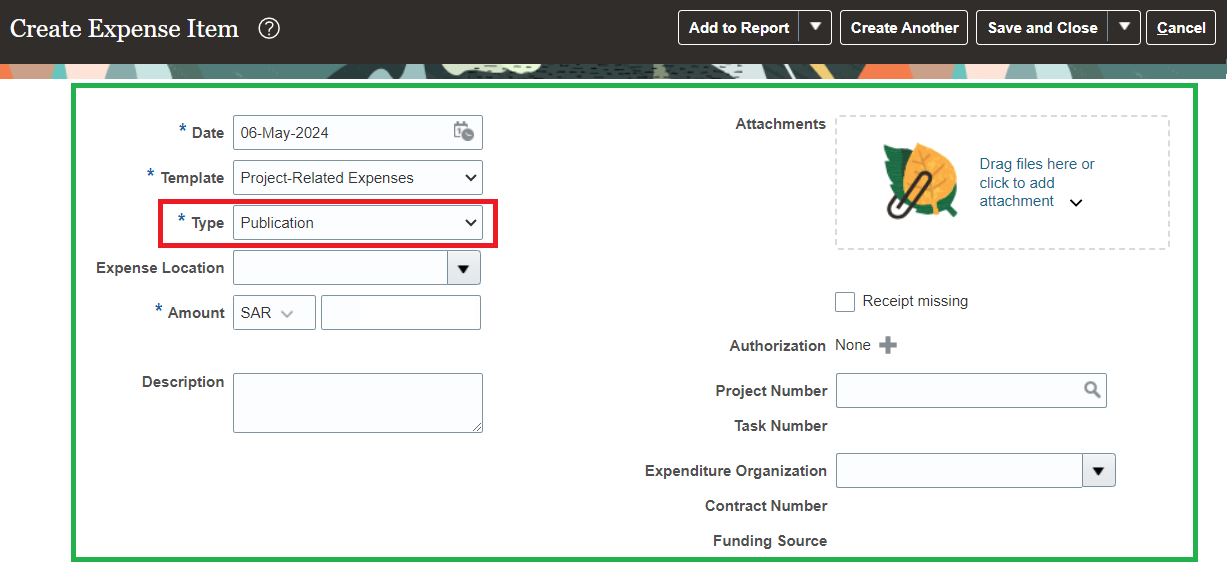
Step #5: Select Type “Publication” and when you select it will be as;
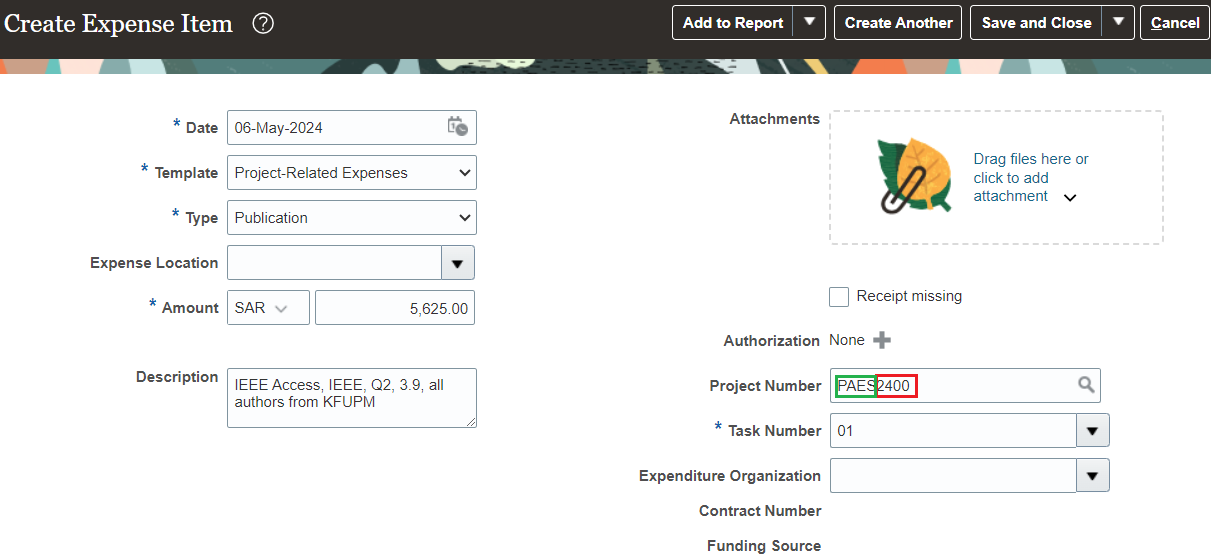
Step #6: Put the amount as calculated based our guidelines (Click Here).
You can know the government exchange rates from https://www.sama.gov.sa/en-us/finexc/pages/currency.aspx

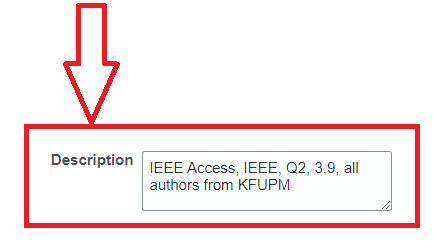
Step #7: Fill the Description e.g. Journal Name, Publisher Name, JIF Quartile, and impact factor

Step #8: If the support is provided by the project, please include the project number. However, if the support is allocated from the university quota, please use the following format: PAESYY00, where YY represents the current fiscal year (e.g., PAES2400).
Step #9: Put all attachments “Invoice, receipt, bank statement, and the paper itself ”by Drag files here or click to add attachment".


Step #10: Click "Save and Close".

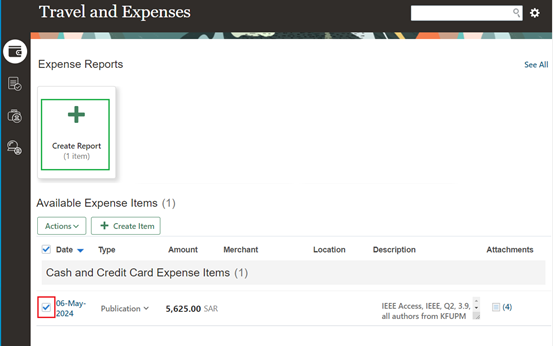
Step #11: Select the item and then click on Create Report.
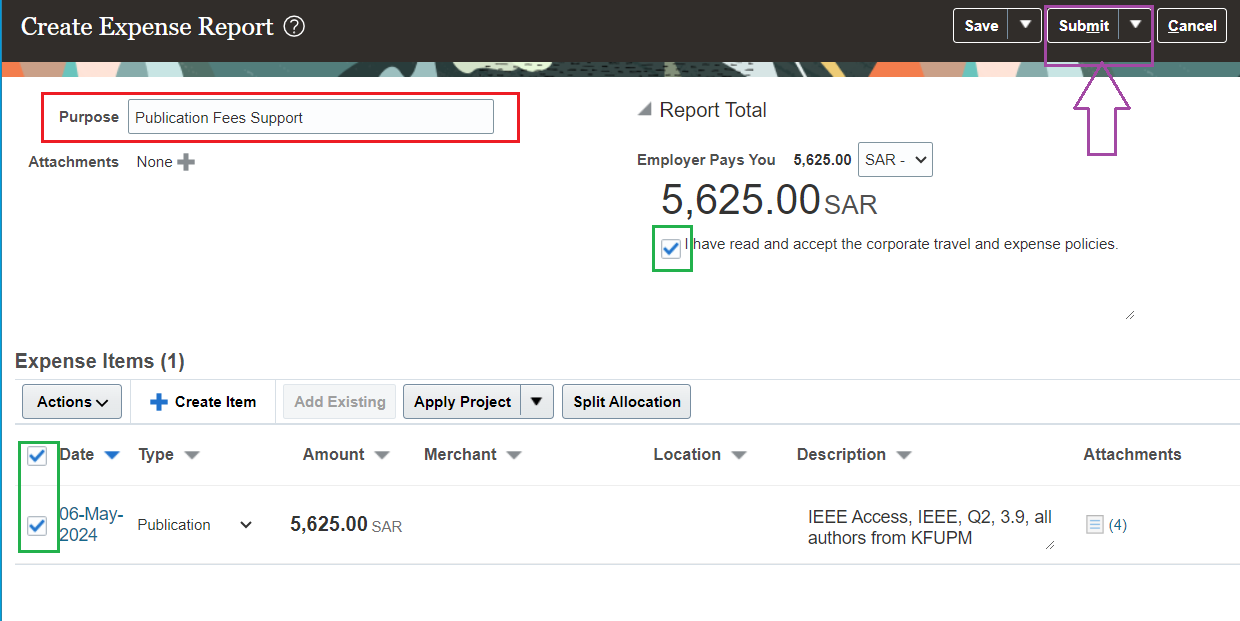
Step #12: Make sure that the purpose is written “otherwise re-write” then click on check boxes and submit it.
Step #13: You can know the approval workflow by click on Expense Card then click on Pending manager approval


If you face any problem, contact Dr. Mouheddin AlHaffar on EX# 3503
Jump to Top